How to Squat Correctly: A Step-by-Step Form Guide
The squat is one of the most technically demanding lifts covered in exercise technique: why form matters more than weight , because it asks the ankles, hips, and thoracic spine to all move through a large range at the same time. This guide breaks the movement into checkpoints, so technique problems can be diagnosed and fixed one at a time instead of vaguely.
Setup
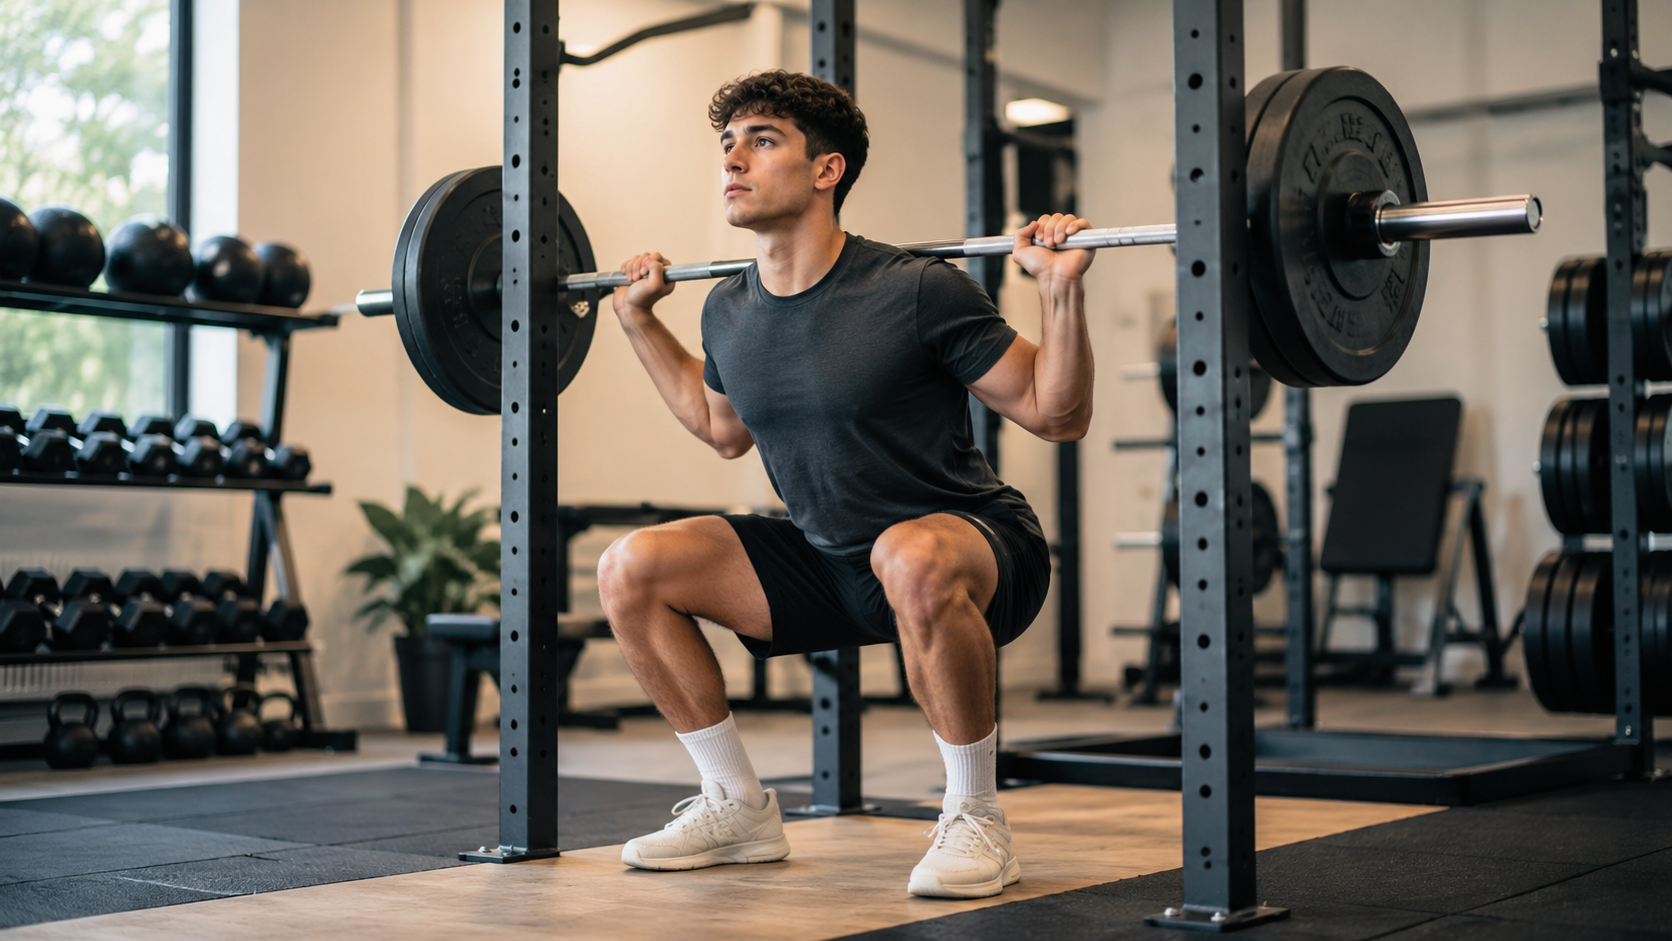
- Bar position - either high-bar (across the upper traps) or low-bar (across the rear delts), consistent placement matters more than which one you choose.
- Foot width - roughly shoulder-width, toes turned out 15-30 degrees. Narrower or wider stances are valid adjustments for individual hip anatomy.
- Brace before you unrack - a full breath into the belly and a tight core, held throughout the rep, not just at the bottom.
The descent
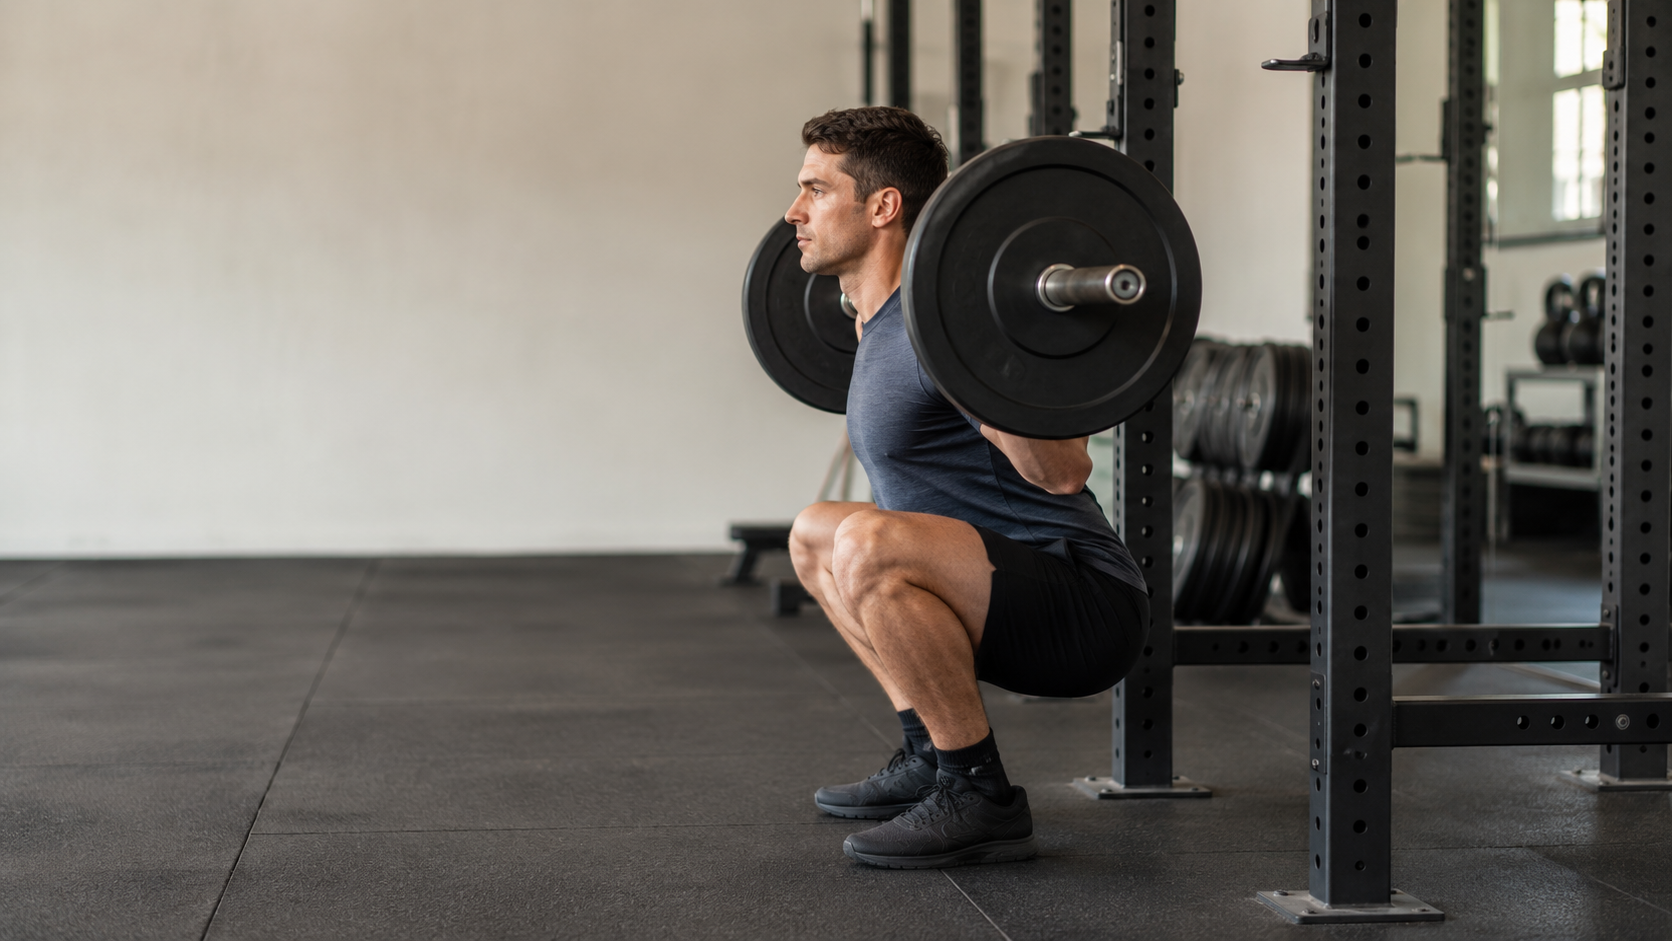
- Hips back and down together, not hips-back-first (which shifts the squat toward a good-morning pattern) or knees-forward-first (which shortens hip involvement and overloads the knees).
- Knees track over the toes, not caving inward. Knee valgus (caving in) under load is one of the most common breakdowns and is often a hip strength or mobility limitation, not a cueing problem alone.
- Depth - hip crease at or below the top of the knee, for most lifters and most goals, provided depth doesn't come at the cost of the back rounding or heels lifting.
Knee valgus and heel lift are hard to see on your own in real time. dotmoovs' movement analysis flags these breakdowns automatically from your camera, rep by rep. Download Dotmoovs app!
The most common breakdowns and their fixes
- Heels lifting off the floor - usually an ankle mobility restriction. The ankle dorsiflexion drills covered in mobility routines, directly address this.
- Knees caving inward - often a hip abduction strength issue rather than a cueing problem. Banded lateral walks and controlled tempo work help, alongside consciously pushing the knees out during the descent.
- Lower back rounding at the bottom (butt wink) - frequently a hip mobility limitation combined with depth that exceeds current control. Reducing depth slightly while building hip mobility is a more effective fix than forcing full depth through a rounded back.
- Bar drifting forward over the toes - usually a bracing or upper back tightness issue. Re-checking the brace and keeping the chest up through the descent typically resolves this.

The drive up
- Drive through the whole foot, not just the heels or just the toes.
- Keep the brace through the entire ascent - many lifters lose bracing exactly at the hardest part of the rep, which is where technique breaks down most.
- Hips and chest should rise together. Hips shooting up first turns the top half of the rep into a good-morning pattern and shifts load away from the legs.
Fixing squat technique is faster when you know exactly which checkpoint is breaking down. dotmoovs shows you the specific frame where your form changes, not just a pass/fail score.
Progressing the squat safely
Technique should be locked in before load becomes the priority. Once the checkpoints above hold consistently across all working sets, load can be added following the approach described in how to apply progressive overload as a beginner, and structured within the broader programme covered in strength training for beginners.
Common mistakes
- Chasing depth before mobility supports it - forcing depth through a mobility restriction trades one problem (shallow squat) for a worse one (rounded back under load).
- Adding weight before the pattern is consistent - load amplifies whatever technique is already present, good or bad.
- Ignoring one-sided breakdowns - a knee or hip that caves on one side more than the other usually points to an asymmetry worth addressing directly, rather than a general cueing fix.
dotmoovs analyses your squat frame by frame and flags exactly which checkpoint needs work, so you fix the real issue instead of guessing. Download the app and check your squat today.